Prikaz objav z oznako project. Pokaži vse objave

petek, 10. oktober 2014

Miror shoes - well kind of

I've had a fascination with mirror shoes since I first spotted these bbys in ...well some time ago:  http://www.solestruck.com/andreia-chaves-invisible-shoe-mirror/index.html , but evidently they are out of my league (sadly). So I decided to make my own.

I planned everything. I had a pair of old ballerina shoes that I intended to secure on wooden platform soles (that I would make out of super light wood) and glue broken mirrors with my newly acquired super glue E6000. Dealing with the lack of time and money (wood can be really expensive), I have found an alternative.

I used a pair of old shoes. Vagabond - I dare to say that these are the most comfortable pair of shoes I own. they fit like a glove and they really feel more like slippers than shoes. Well I have worn them so much that I have managed to make a hole in the sole and made the shoe almost fall apart. I decided to bring them back to life by giving them a new sole (this has yet to happen), fixing anything that could be fixed (gluing parts of the sole back on) and adding drama with my mirror equivalents - old CDs.


First I broke the CDs in a box, so parts of them didn't get thrown all over the room. Then I separated the shiny and the transparent layer and got to work. It was all about matching the right pieces together to achieve a mosaic look. As mentioned I have used my new favorite glue E6000 which really glues anything to anything ... for good.

the shoes really only came to life when exposed to direct sunlight and I think the CDs have had an even better effect than the mirrors would, because of their rainbow like reflections. I am really pleased with how this project turned out and will be doing more CD DIYs in the future.


torek, 27. maj 2014

DAY 61


instead of studying, I spent my time sewing miniature dresses for our new class mascot Monika. The idea cam form the manneken qui piss; which we were just discussing in French. I must admit I really had fun making these two. The 1st one is supposed to resemble Erika's skirt (same fabric). And the shirt is made out of the polyester that was used to make my skirt.

četrtek, 8. maj 2014

DAY 42

Started working on a skirt for my classmate. She really liked the skirt I made for myself ...and already had fabric bought. I think this is going to turn out the way I want it too. no problems so far.

sreda, 30. april 2014

DAY 34

Today started with a beautiful sunny morning and my sister discovering an enormous ice crystal on the cap of one of the frozen sauce containers. It was amazing, I couldn't really catch it on the camera but I had no idea sauce containers could be so beautiful.


The weather deity was really indecisive today. One minute it was raining, the next, there was blinding sun. I decided that I spend most of today inside and not studying. Since its Wednesday - middle of the week I figured I could afford a day off and get started on some of my art projects.

 I chose to rejuvenate one of my old, eaten by clothes moths, cardigan. I've wanted to try this technique for a long time, but never got a real chance, or an excuse. ^^ I started by  stretching the cardigan over  a disassembled shoe box, then drew a line in the middle and then 2 more lines to limit my cuts. At first I was going to use a knife but after some tries, scissors proved to be more practical. I then used the twining technique, that I learned here. I then started making more cuts, so I could fill up the whole back side. The hardest part for me was keeping things as symmetrical as possible. I ended up with 5 loose ends. In tutorial the girl just tied them together, but since I had 5 of them and I wanted to make sure they stay in place, I used a sewing machine to secure them in place.

 I also learned how to drive a Yikebike with my brother. It's powered by electricity and weighs only 14 kg. My dad brought it home from some conference and I haven't been able to try it till now. At first it was quite difficult, but its not that hard to stir once you reach higher speeds.
I will now go watch X-men with my brother (have to watch the first ...3,4,5? if I want to see the latest one in the cinema). ^^


petek, 28. marec 2014

100 Happy Days

On facebook, I have come across this interesting project called 100 Happy days . I checked it out and really started to like the idea. I agree with their thinking. Sadly we get lost in our own world of stress, responsibilities and worrying all to often, especially myself . The task seems simple enough so I decided to try it out. I'll be posting a picture, a drawing or just a quote of what made me happy each day. I will try to post every day, or at least make a weekly update. My school trip to Spain starts tomorrow morning, hence I won't be posting daily. Well I'm curious to see how I do and if I can make the 30% of people who make it through the task.

sreda, 19. marec 2014

I dressed up as a wall


First, let me explain what pust is. It’s a holiday that represents the end of winter and the arrival of spring. Its dependant on the date of Easter, but every year we have the pust-Saturday, Sunday and Tuesday. People dress up in costumes, a lot of different mask festivals take place, and children go around houses for candy… It’s similar to Halloween, but it is celebrated for a different reason. The most recognizable, Slovenian pust mask is kurent. In the city of Ptuj, men dress up in traditional costumes, made out of sheepskin, with lots of heavy cow-bells hanging around their waist and a special head piece with a big red tongue and two colorful horns. They jump around, producing loud noises in order to scare the winter away.
The nightwalks
Other people however dress up in different costumes for fun or just because they can. Well the latter would be me. When I was in London for a week in February, I bought this simple short sleeveless white shirt with a Banksy print and a pair of 16 cm high night-walks (heels without an actual heel). Well when the time of pust was approaching, and idea of me being a wall with graffiti (the shirt) popped into my head… And I really wanted to show off my shoes and not be too scary (with the shoes on I was almost 195cm tall).
The modification of the pants
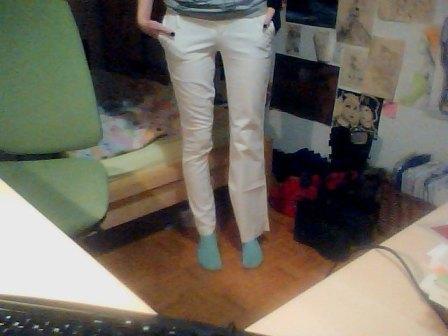
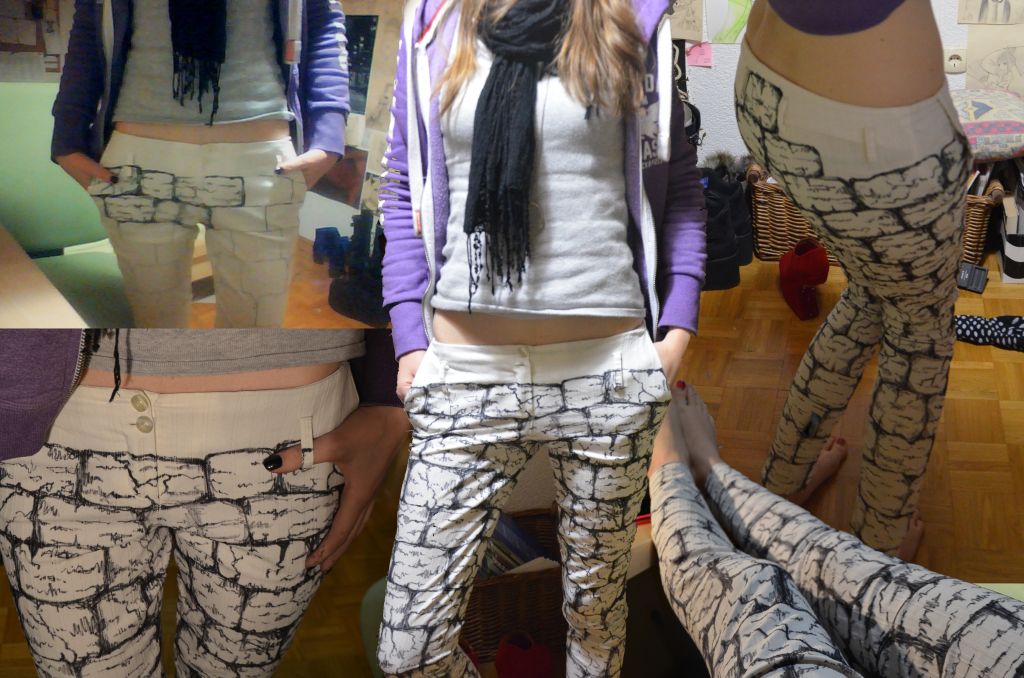
The first thing I did, was transform a pair of my old white pants from a bell-like shape, to a more modern kind of tight-jeans look. I then took a sharpie and started drawing on the pattern of a bricked wall. In the beginning I wanted to use acrylics, but when I tried them on the actual fabric, it broke when folded and it just didn’t look good. The second idea I had, was using sandpaper for old or damaged bricks, but in the end I just went with more unified less costumy look (so I can wear the pants on a normal day sometime). The sharpie didn’t last long so I switched to an alcohol based marker. I was drawing from top to bottom, so even when my marker was already dying it slowly faded to a lighter shade, that didn’t break up the look of the pants. The whole process took about 3 and half hours to complete.
Final form of the pants
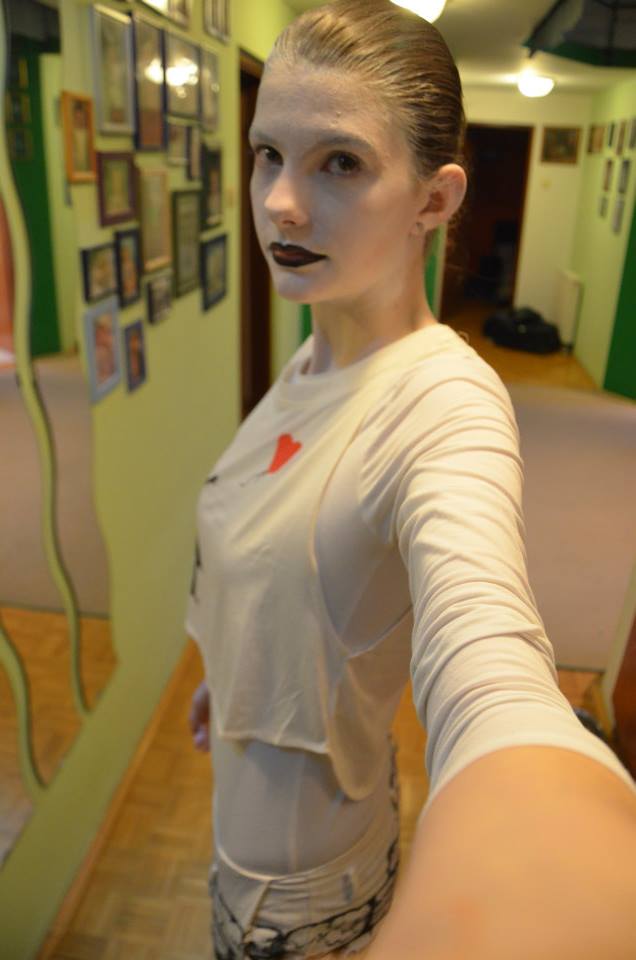
For my makeup I decided to go with a simple version, because I didn’t want to overdo it and take away from the shoes. I painted my face white with regular local store face paint, no eye makeup, and then colored my lips black. It was actually totally black only on the edges, towards the middle it faded into dark red. My hair was in a tight bun with some of the paint going over my hairline, unifying the look of the painted face. First picture from myschool site.
Face1 Face2
I think my look worked. It was original and I really had fun planning, making, and in the end, wearing it to school. I did turn some heads especially with my height. But sadly not many people recognized Banksy’s graffiti even though, it was the main inspiration for my look.
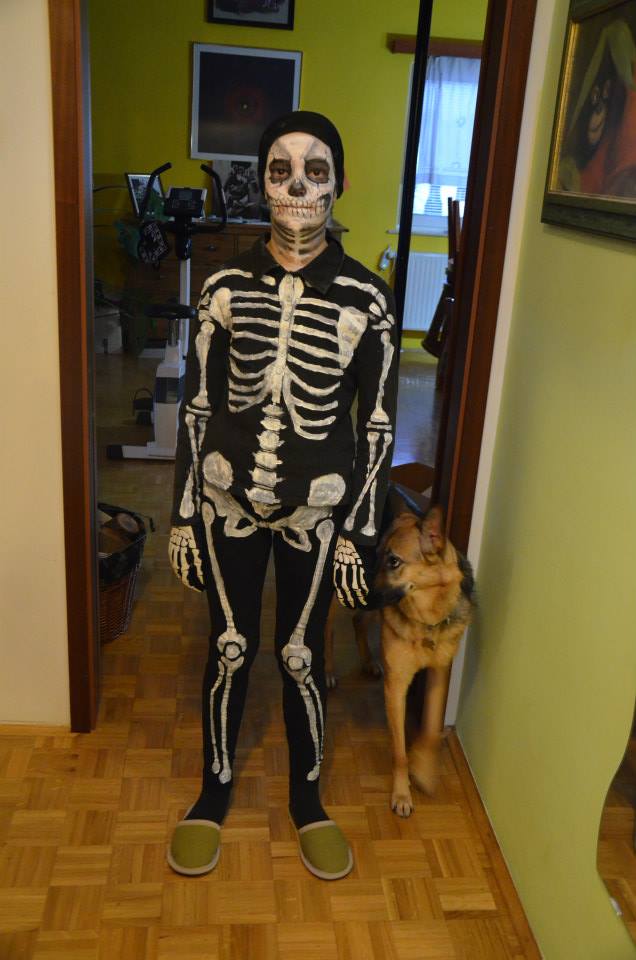
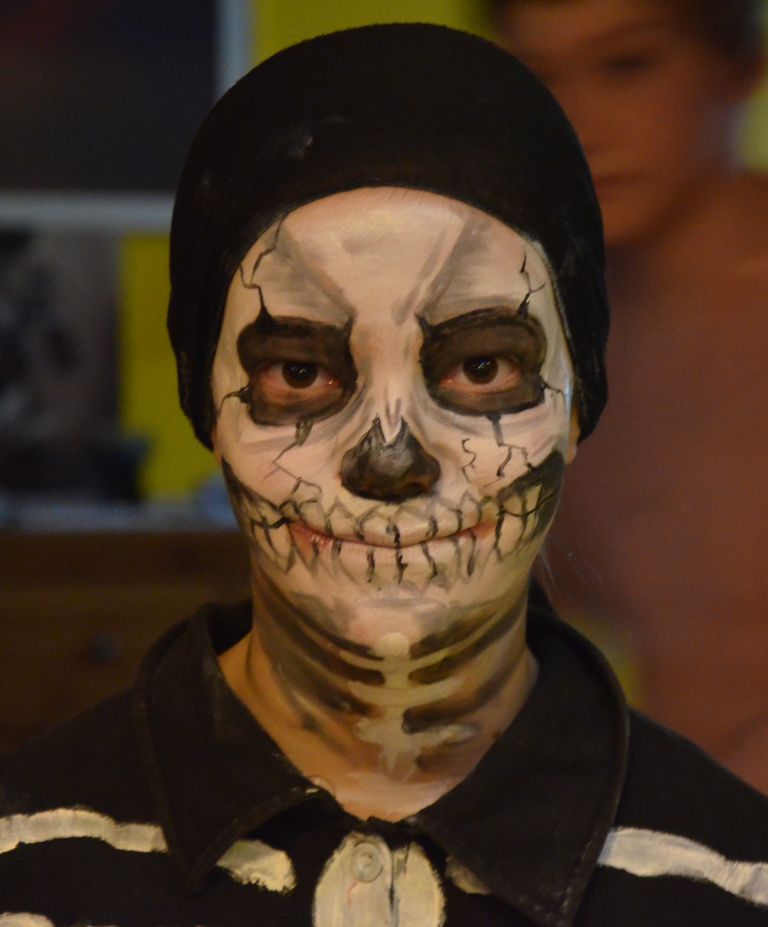
BONUS: My sister got dressed in a skeleton costume. Everything except the gloves has been painted by me, using acrylics for the clothes and face paint and regular makeup for the face
.1939990_10201439527534892_755245358_n Clipboard01

četrtek, 16. januar 2014

School project

In Slovenia there is a tradition of setting up a Christmas crib as a part of the preparations for the celebration. In our family we usually set up the classic infant Jesus, his mother Mary and Joseph miniatures. On our school however, there is an inter-class competition held every year. Each class (in Slovenia you enter a, so called, gymnasium, at 14 and study there for 4 years, then after that you can go to university) has to prepare its own nativity scene and include a presentation for the school. To mix things up a bit, each year there is a special emphasis on lets say a thought or a quote from the bible… This year the ‘theme’ was Don’t be afraid to accept. The judges in the end take in account originality, esthetics, message and the presentation.
Since I am the artsy person in the class, and have led the preparations past 2 years, I took over the organization of the project again. Our interpretation on the quote focused on Joseph and his acceptance of Mary and Jesus. Basically on his trust towards Mary.
In the early stages we decided that we are going to generalize the acceptance theme to for everyday life and people living today. So the point was to show that we should accept whatever life gives us and make the best of it. Weather its good or bad, its life. When we face problems and when our life challenges us we gain experience and resilience and when it presents us with something good, we should only be thankful.
We moved on with the idea of hands receiving. We imagined a male and female hand, receiving a child, or if we generalize it, receiving the good and bad in life. We then had to plan everything out, the materials, supplies, work-groups…
Every year we had given our everything and it paid off. 1st year we won amongst the first years, second year we won the esthetics award. We had worked really hard all 4 hours that had been given to us and had fun. Even though the atmosphere in the classroom was sometimes frantic and I was running up and down trying to help everyone, the work we had put in or creations made us feel proud of them. After the event we always kept the nativity scene in our class as long as we could, because we really loved seeing all pay off.
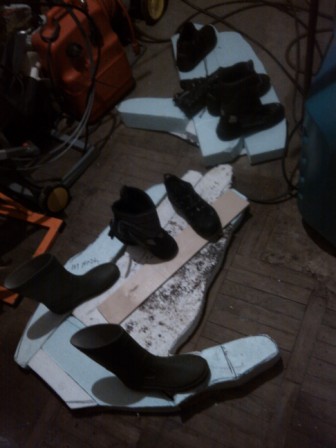
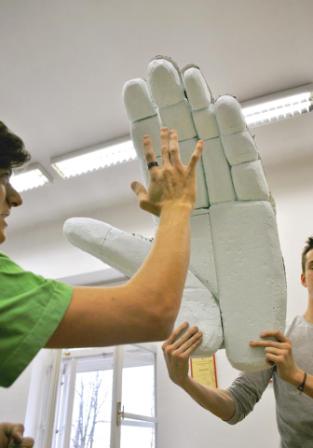
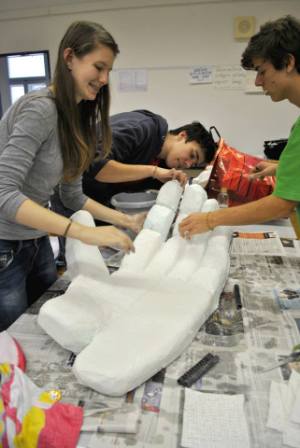
Well this year not much had changed, if anything we only became more ambitious. The plan was to make huge hands that would shock with the size alone. We had quite a few ideas, using wire and papier-mâché or plaster, using cardboard.. In the end, the hands had been made out of cardboard and Styrofoam. The day before the 4 hour work in school I cut out two different hands (female based on my, and male based on my father’s hand). I enlarged the traced hand on approximately a 1 meter length and cut it out of cardboard. This represented the ‘boning’ of the hand and prevented it from falling apart. The fingers were movable and the thumb had been cut out separately. On top of that I later glued pieces or about 10 to 15 cm thick Styrofoam and marked the jolts where the Styrofoam had to be cut and bent. I left that dry overnight and drove the whole thing to school.
Image
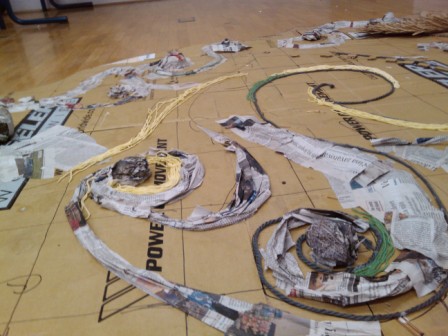
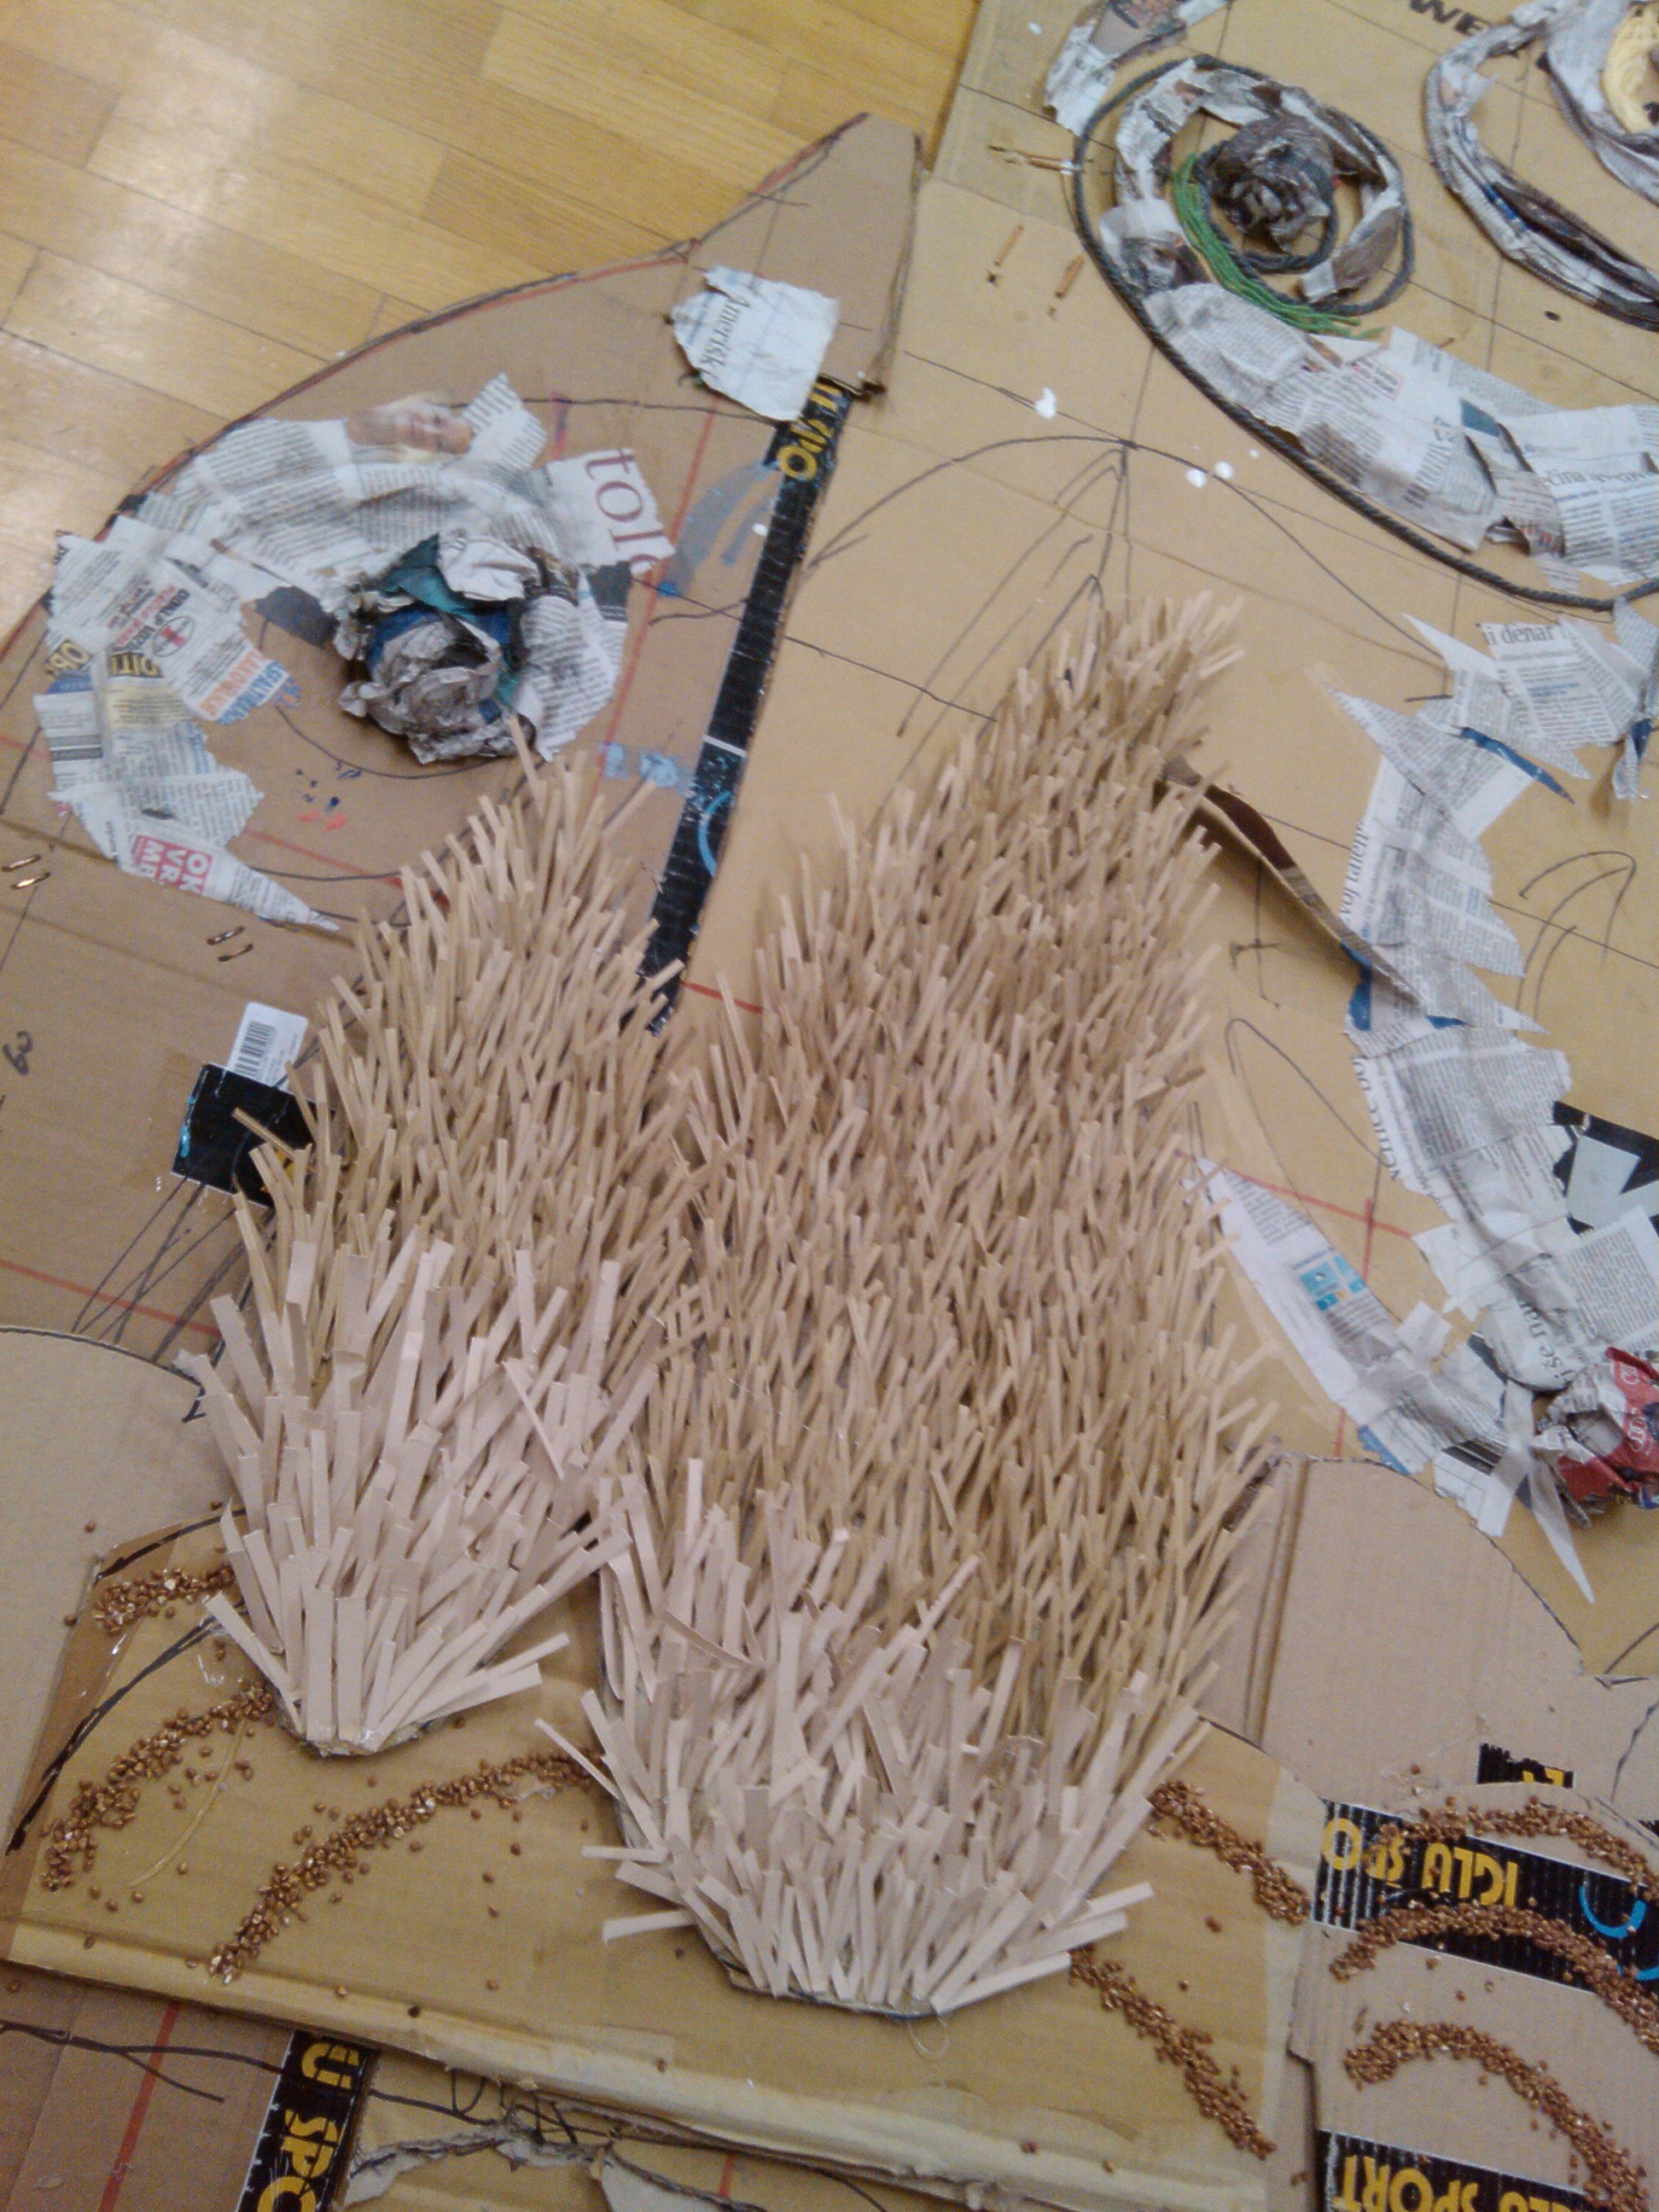
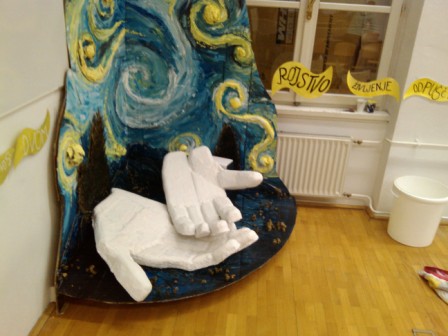
The same day I made the hands, I stayed in the classroom afterschool with some of my classmates, working on the ‘background’ for our hands. The idea was to somehow replicate the famous painting Starry night by Vincent Van Gogh. We glued together 2 layers of cardboard pieces that held each other together and later made the whole construction stand in the back right corner of the classroom. We then drew 20x20cm square net onto the cardboard and transferred the small A4 sketch to the 2 m high and a bit less than 4 m wide surface. We then started to define the 3d character of the painting. The stars were made out of old newspapers shaped in half-sphere ‘hills’, the scenery on the bottom was made out of 3 layers of cardboard , indicating the distance, enhanced with buckwheat seeds. The tall slim trees were cut out of cardboard and taped over with bent parts of soft wire coated in paper and the shining stars and the moving sky was animated using wool, old newspapers and cardboard.
ImageImage
Overnight the thing dried so the next day everything was ready to be painted. I had a team work on the ‘floor’ of the scene, painting it dark blue and black and trying to create a feeling of depth, then there were quite a few people painting the scenery and 2 coordinated painters painting the sky (at the beginning there were more, but with a little time it showed that the more efficient way was to have less people that really knew what they were doing than a group of uncoordinated students). Half of the boys were working on the palms of the hands, cutting the Styrofoam with olfa knives. Girls that were not busy painting the scenery were cutting wave like shapes out of paper and coloring them. The colors ranged from black to yellow and then to white, creating a color gradient. The idea was to take the bad things (black) and make them become yellow (in the center of the sculpture) and to take white (good) and also make it become yellow. On these 30 cm pieces of paper we later put on events from a person’s life, presenting the challenges and the gifts (death, guilt, anger …, trust, birth, happiness…), taped them to a thin white string and had them hang of the walls, leading the eye of the spectator to the center, the hands.
Image
Photo by Vida Jocif.People with a bit of a writer and/or actor sense in them were busy putting together a presentation. There was also a small group of people working on a tree (a bunch of twisted willow branches), on witch we later hanged names of every person in the class with a special quote meant especially  for them. The rest of the class was working on Christmas cards for teachers or helping out here and there.
When most of the parts were finished we set up the scene, lifted the base of the floor with the leftover Styrofoam pieces put under it and prepared the class for visitors (rearranged the chairs, put the tables away). After the school was over, some of us stayed, to finish the hands. We secured the folds of the fingers with stretched out paper clips, connecting the two parts and keeping them bent, and then covered the whole thing in plaster strips to give it a clean polished finish and to unify the color.
Image
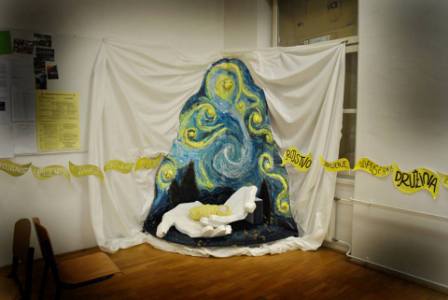
Photo by Vida Jocif. Next day the presentation for the judges and audience took place. It had to be less than 5 min long, explaining the nativity scene and having some kind of spiritual impact on the viewer. Our storyline was talking about two people, happily together, getting their first child. The actors went through some shorter scenes of their relationship and then, there was the doctors meeting. The Specialist told them that their child will be born with a genetic dysfunction. The mother wanted to keep the child, but the father wasn’t sure whether they would be able to take on the responsibility to raise him and give him everything he needed. They got into a fight over the matter, but after some time, they both get back to each other apologize for the fighting and then together, accepted the baby with open arms. At the end they put a symbolic baby wrapped in yellow piece of cloth into the open plaster hands of the man and woman in the corner, and the narrator sums up the message of the play.
ImageImage
2nd photo by Vida Jocif. In the end we were nominated for the esthetics award, best presentation, and came in third in the general selection. I think we deserved better and at least top win the award for esthetic value. I am very proud of our work and I hope that next, the last, year we do even better and have as much fun as we had this year.